Relay installation is a crucial process in a wide range of electrical and electronic systems. Whether you’re designing a circuit, setting up an industrial automation system, or performing maintenance work, understanding how to properly install a relay can ensure that your system operates efficiently and safely. A relay is an electromechanical device used to control the switching of electrical circuits, and it plays a vital role in managing high-current circuits with a low-voltage control signal. This article provides a step-by-step guide to relay installation, covering key aspects from choosing the right relay to ensuring a secure connection.
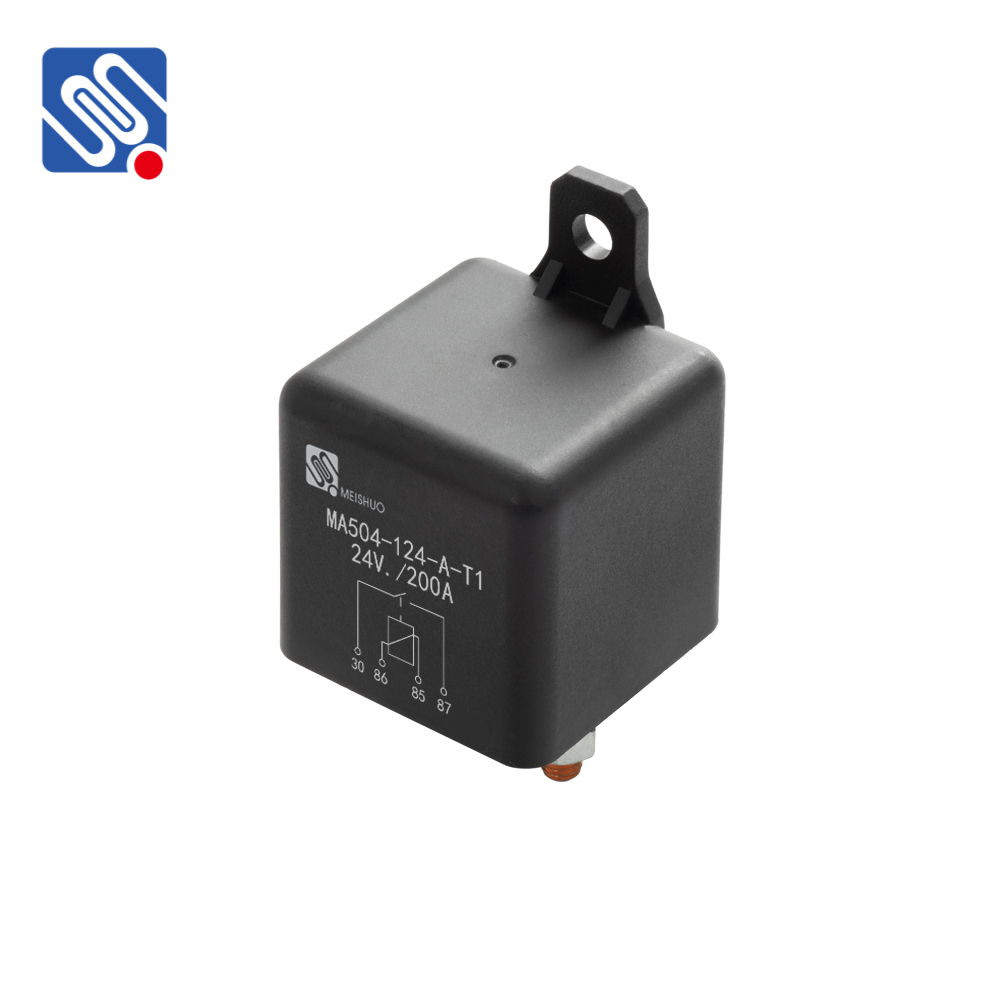
What is a Relay? A relay is a type of electrical switch that is operated by an electromagnet. It allows one circuit to control the operation of another circuit by opening or closing its contacts. Relays are commonly used in situations where it’s necessary to control a high-voltage or high-current circuit with a low-voltage control signal, like in automotive, industrial, and home automation applications. Choosing the Right Relay The first step in relay installation is choosing the appropriate relay for your application. There are several factors to consider when selecting a relay: Voltage and Current Ratings: Ensure that the relay’s voltage and current ratings are compatible with the system you intend to control. For instance, if you’re working with a 12V DC control circuit, you will need a relay designed to handle that voltage at the coil terminals. Additionally, the relay’s switching contacts should be rated for the current required by the load circuit.